How Do Soil Microbes Affect Plant...
Ever wondered what role soil microbes like bacteria and fungi, play in plant health? Read on to learn why they're important.
Read More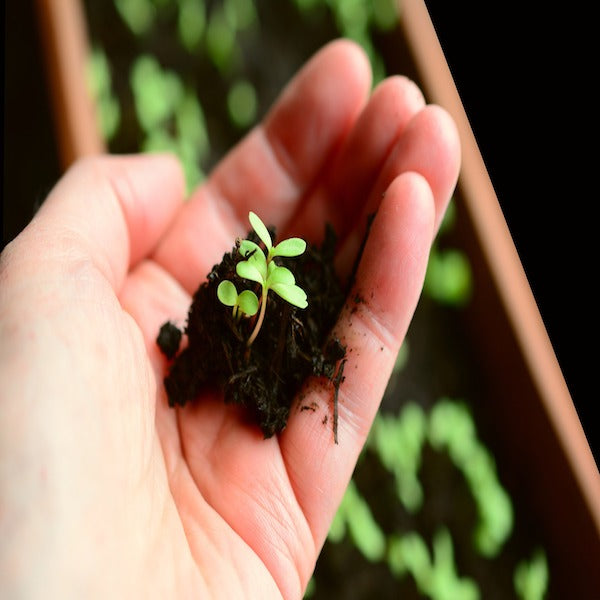
Ever wondered what role soil microbes like bacteria and fungi, play in plant health? Read on to learn why they're important.
Read MoreFlower Fertilizer 101: How to Choose, Apply, and Troubleshoot for Vibrant Blooms Ever stared at the garden center's fertilizer shelf feeling completely overwhelmed? You're not alone! Those mysterious bags and...
Read More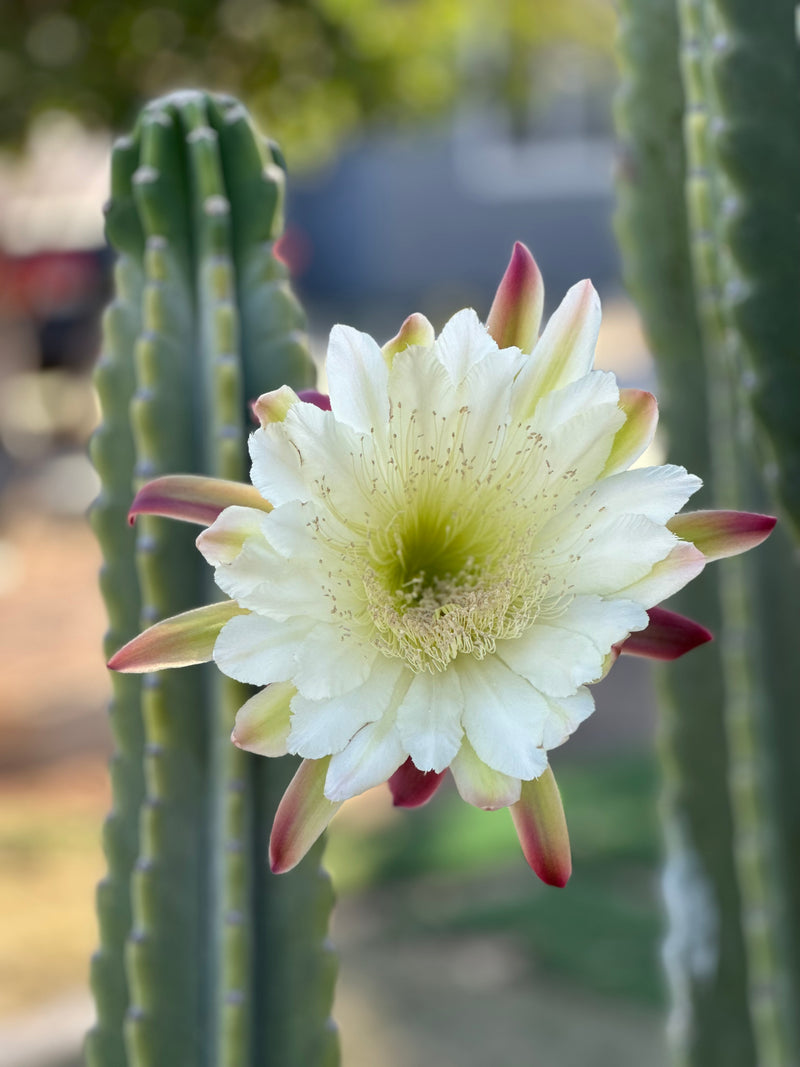
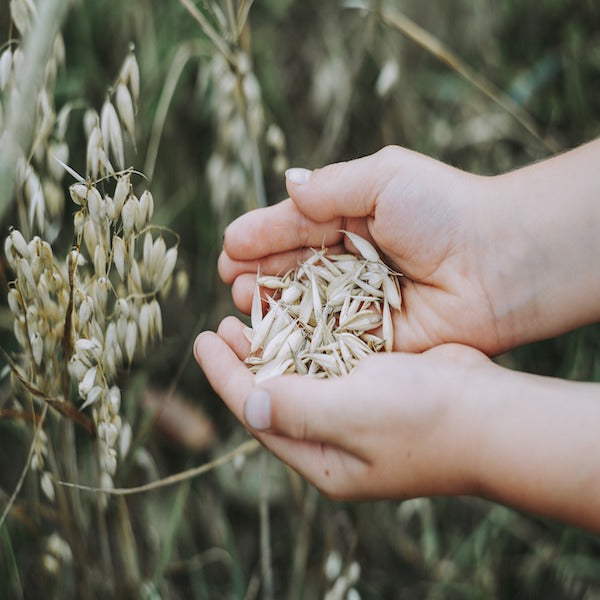
Do you know how a good cover crop can benefit your garden and lead to a healthier one in the spring? Read more.
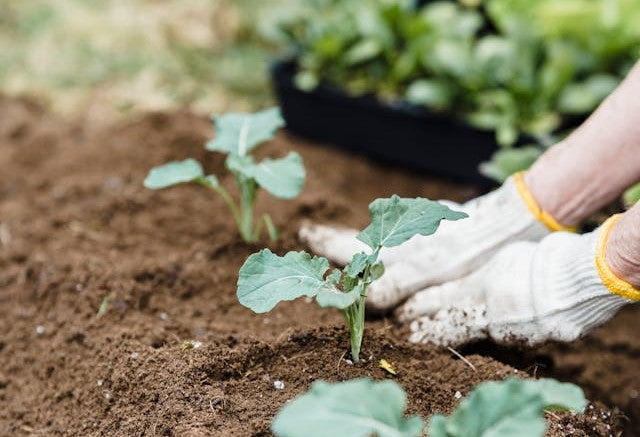
Read MoreLearn how to test your soil for its pH level and which of our products can help you correct your pH levels to where they need to be.
Read More
The article explains the importance of secondary nutrients (calcium, magnesium, and sulfur) in plant health. While needed in smaller quantities than primary nutrients (NPK), these elements are crucial for specific...
Read MoreWinterizing Your Garden: A Complete Guide to Soil Preparation and Plant Protection Learn essential techniques for winterizing your garden to ensure healthy spring growth. This comprehensive guide covers critical aspects...
Read More
This article provides a comprehensive overview of micronutrients in gardening, explaining their crucial role in plant health alongside macronutrients and secondary nutrients. It details the functions of specific micronutrients like...
Read MoreThis article compares sulfate and chelated fertilizers, discussing their production, properties, and applications. It highlights key differences in chemical composition, nutrient availability, pH effectiveness, and soil interaction. The article explains...
Read More
Vibrant foliage is crucial for plant health, maximizing yields and enhancing aesthetic appeal. Key nutrients for foliage growth include nitrogen, potassium, phosphorous, magnesium, calcium, and iron. Trees require different care...
Read MoreThis article discusses the uses and benefits of sulfur powder in organic gardening. It explains that sulfur powder is an effective tool for pest control, disease management, soil pH adjustment,...
Read More

This article explores strategies for maximizing fruit and vegetable production in gardens through effective fertilization. It emphasizes the importance of key nutrients like phosphorus, potassium, calcium, and magnesium for fruit...
Read MoreThis article explores 7 versatile uses of copper sulfate in gardening and agriculture. It explains that copper sulfate is a chemical compound effective against fungal and bacterial plant diseases, algae,...
Read More
A comprehensive guide on preparing soil for planting using organic fertilizers. It emphasizes the importance of adding organic nutrients to create a fertile environment, listing essential macro and micronutrients along...
Read MoreWhat is the Best Fertilizer for Berries? Growing berries in your garden is both rewarding and challenging, requiring an understanding of their specific nutritional needs. Berries such as blueberries, raspberries,...
Read More