Are you tired of struggling with slow hair growth or looking for a natural solution to achieve thicker, healthier locks?
Look no further than this DIY Rosemary and MSM Powder Spray.
Packed with powerful ingredients known for their hair-strengthening properties, this spray can help promote hair growth and improve overall hair health.
Is MSM Powder Good for Hair Growth?
Methylsulfonylmethane (MSM) powder, a naturally occurring compound containing sulfur, has gained popularity in the beauty world for its potential hair growth benefits.
Recommended for You:

Sulfur is essential for the production of keratin, the protein that makes up hair strands.
Research suggests that MSM supplementation may support hair growth by providing the necessary nutrients for strong and healthy hair follicles.
Can I Spray MSM on My Hair?
Yes, you can use MSM powder topically on your hair and scalp.
When combined with other nourishing ingredients in a spray form, MSM can be easily absorbed by the scalp, delivering its benefits directly to the hair follicles.
How to Use MSM Powder for Hair Growth?
To use MSM powder for hair growth, incorporate it into your hair care routine as a topical treatment.
This DIY spray is a convenient and effective way to reap the benefits of MSM for promoting hair growth.
Why is Rosemary Good for Hair?
Rosemary is a fragrant herb that has been used for centuries for its medicinal properties, including its ability to promote hair growth and improve scalp health.
Rich in antioxidants and nutrients like vitamin A, rosemary helps stimulate hair follicles, increase circulation to the scalp, and combat hair loss.
Regular use of rosemary can result in stronger, thicker hair with improved texture and shine.
Rosemary Spray for Hair Growth Recipe:

Ingredients:
- 5 sprigs fresh rosemary leaves
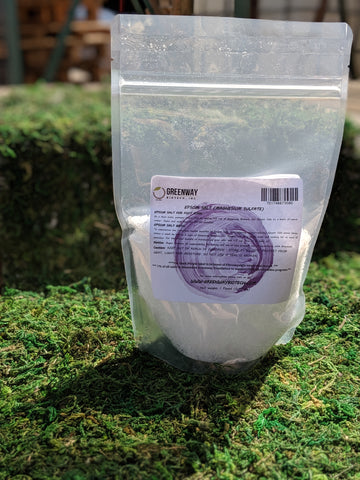
- 1-4 teaspoons Greenway Biotech MSM powder
- 1 cup hot water
- Optional: a few drops of essential oil for fragrance (e.g., lavender or peppermint)
Instructions:
- Bring a cup of water to a boil in a small saucepan.
- Add dried rosemary leaves to the boiling water and let simmer for 10-15 minutes.
- Remove the saucepan from heat and allow the rosemary infusion to cool slightly.
- Strain the rosemary-infused water into a spray bottle, discarding the rosemary leaves.
- Add MSM powder to the rosemary water and shake well until the powder is fully dissolved.
- If desired, add a few drops of essential oil for fragrance and additional hair benefits.
- Your DIY Rosemary and MSM Powder Spray is now ready to use.
How to Use:

- Shake the spray bottle well before each use.
- Spray the mixture onto clean, damp hair and massage it into the scalp.
- Focus on areas where hair growth is desired or where the scalp may need extra nourishment.
- Leave the spray on for at least 30 minutes or overnight for maximum absorption.
- Rinse thoroughly with lukewarm water and shampoo as usual.
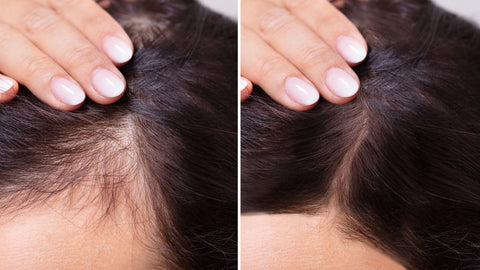
Incorporate this DIY Rosemary and MSM Powder Spray into your hair care routine regularly to promote hair growth, strengthen hair follicles, and achieve the luscious locks you've always dreamed of.
Embrace the power of natural ingredients and watch your hair flourish with vitality and shine!
]]>